PlanDeformer
 The PlanDeformer is perhaps one of the most powerful of the Deformer classes. It takes any object and deforms it along an open or closed plan shape.
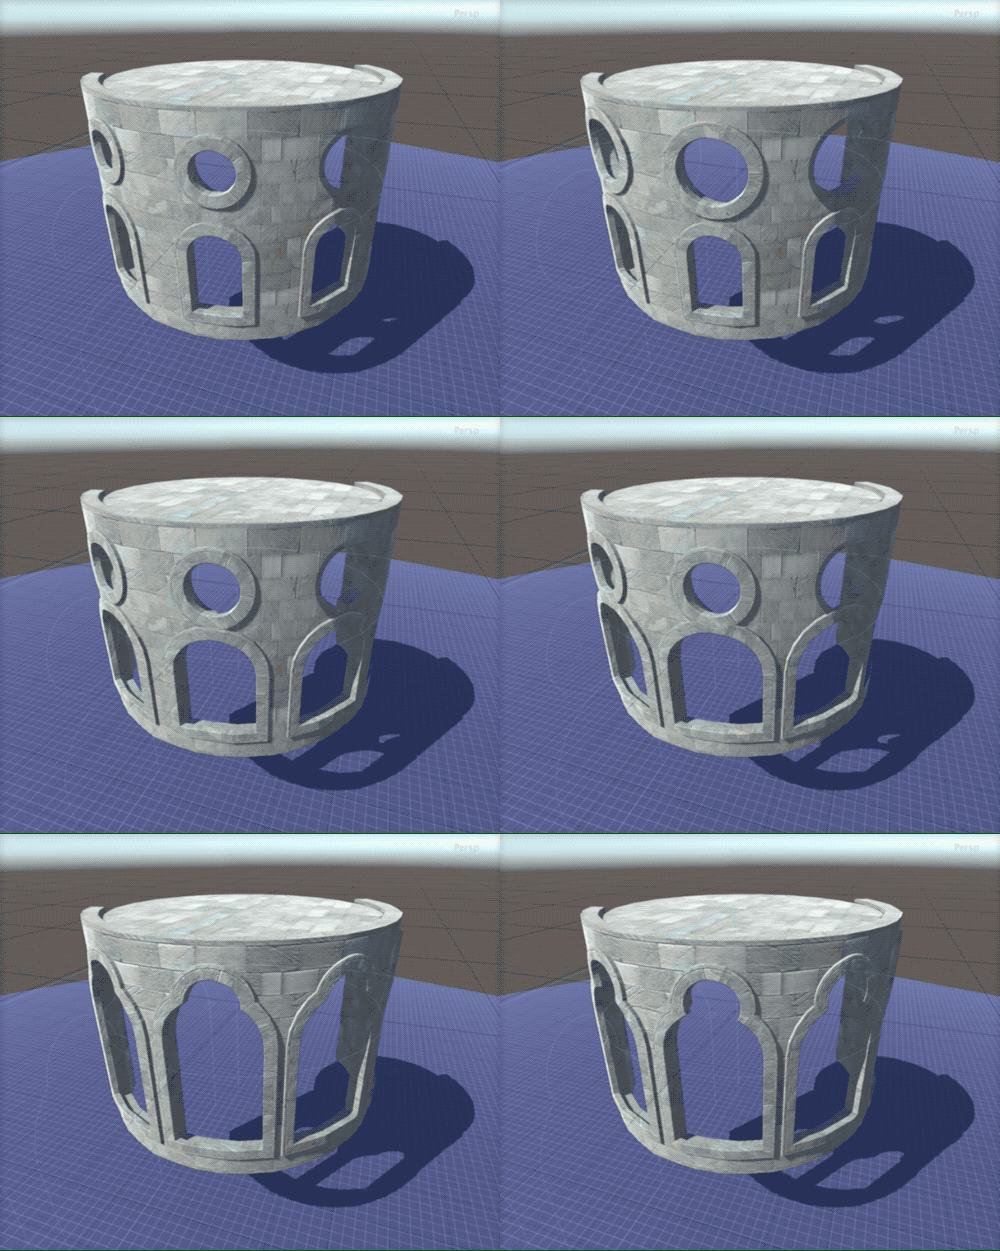
One of the most useful applications of the PlanDeformer is to create a curved wall surface with a complex fenestration pattern. In the example below, a fenestrated wall has been deformed along a Circle.
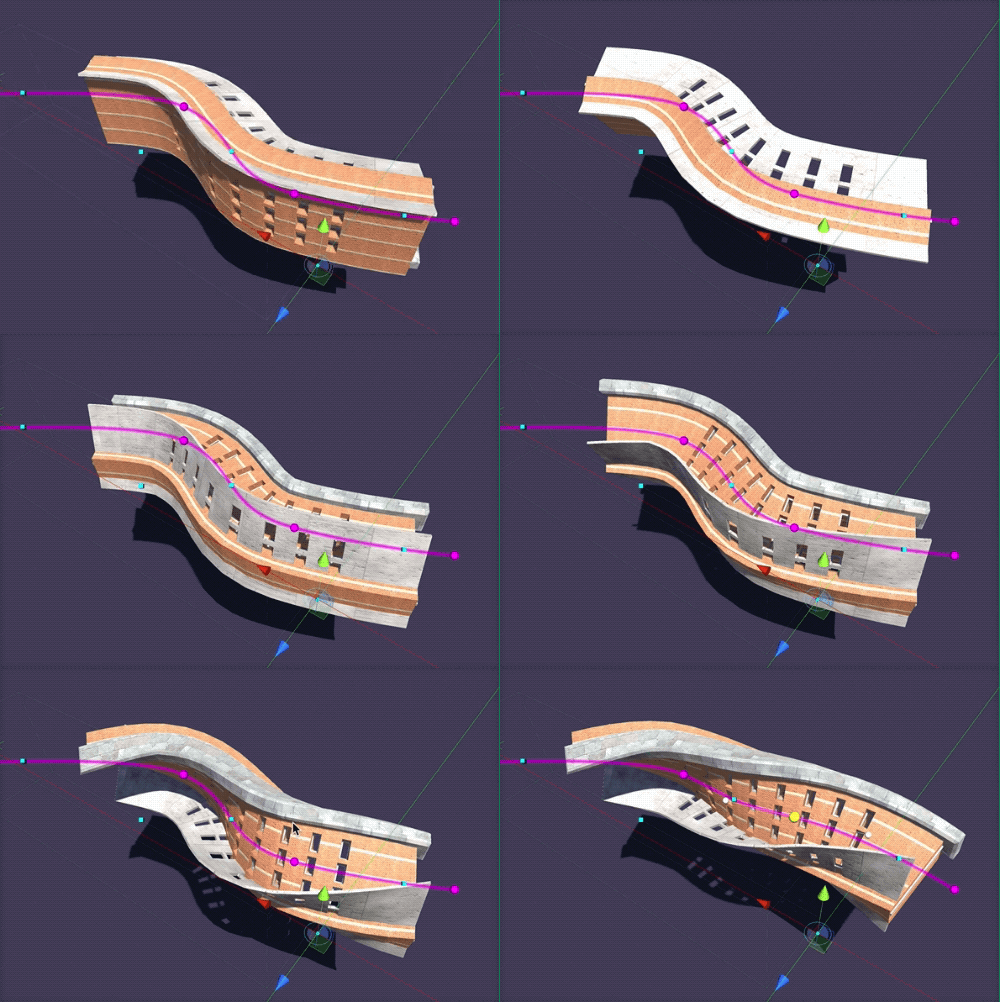
In this example, a Grouper will a subgraph representing different building parts is being deformed on a FreeCurve, with variations in the PlanDeformer’s twist parameter.
The PlanDeformer is not difficult to master, but there are some things about it that are good to know.
Preparing Your Object for Plan Deformation
It is important to understand the importance of the your models orientation to the X-Axis, the level of subdivision of its subjects, the length of your input Plan and whether it is an open of closed input.
X-Axis Armature
The PlanDeformer uses the X-axis of the object as the axis that will be “bent” to the Plan input of the deformer. This means that an object that uses the X-axis as an armature will be most successful with use as input for the PlanDeformer.
Subdivision by Adding Segments to the Source Shape
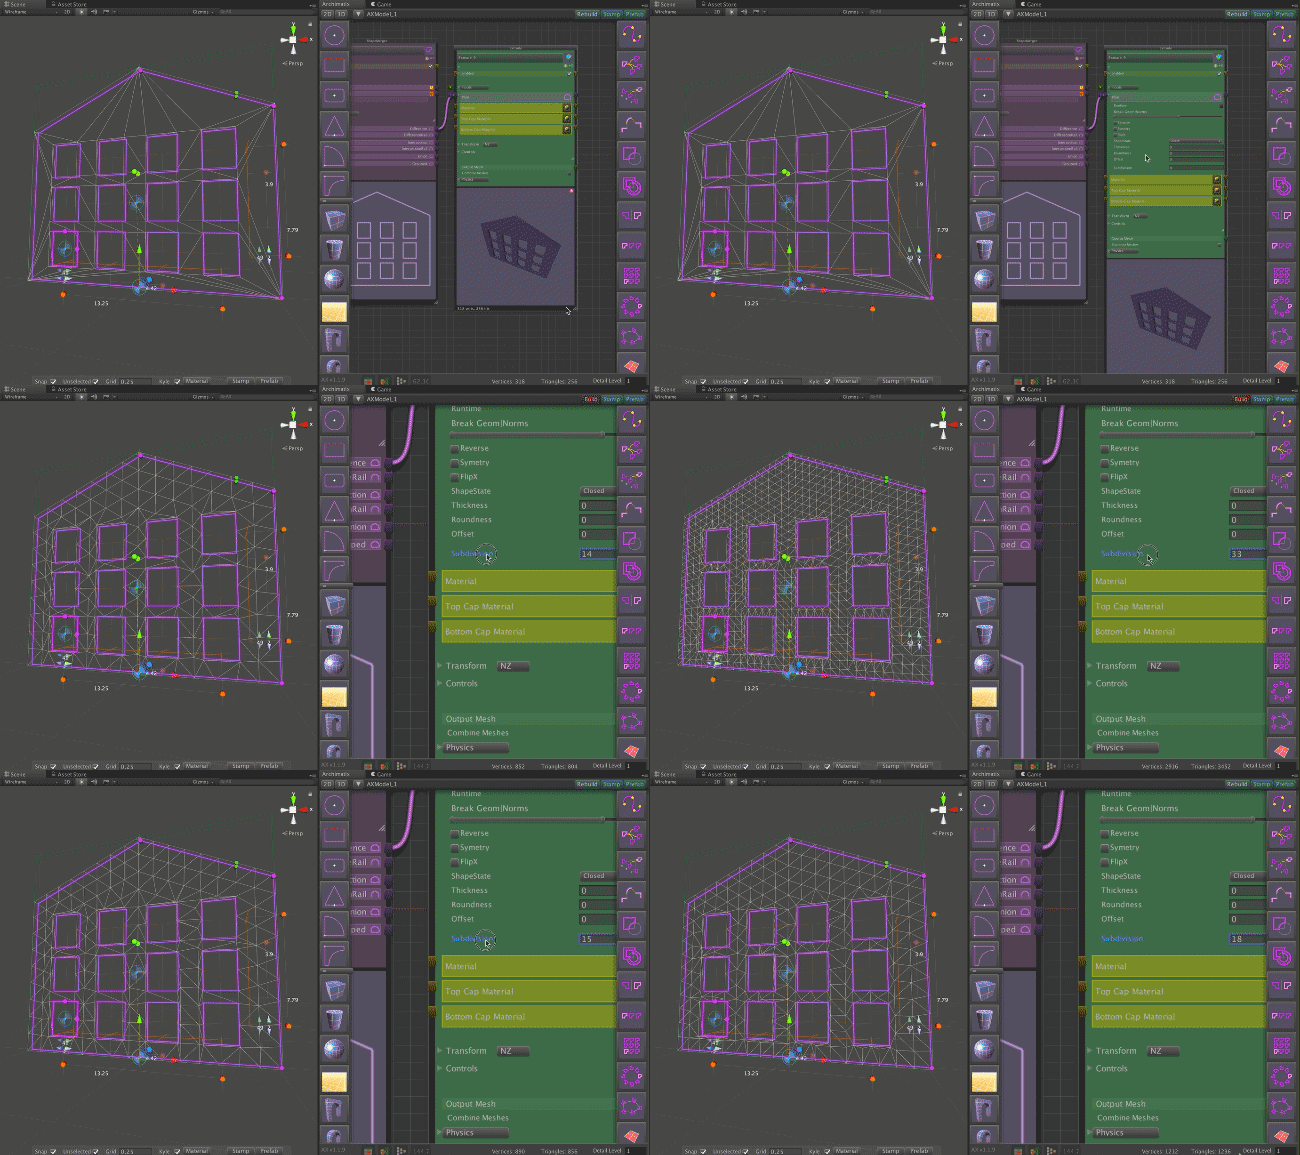
The more vertices and triangles you have in your object, the more smoothly it will deform. You can use the subdivision parameter of any Shape input to subdivide the mesh generated. For example, if the input Shape is a merger of a house facade with windows, in the Extrude node, open that Plan Input and at the bottom of the exposed controls, you will see the subdivision slider. As you increase its value, the Extrude becomes more subdivided. In this example, the Extrude starts with about 250 triangles and ends up with 1200.

Placement along the Plan Length
If your object is centered at the origin, then when you add it to the PlanDeformer, it will seem to be only half-deformed, since the origin of the PlanDeformer’s effects is at the first point of the Plan Shape. You can adjust this in two ways.

Sliding the source node along the X-axis.
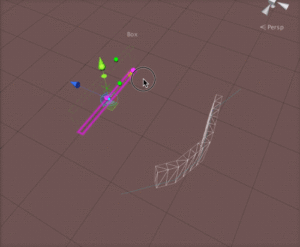
The first is by selecting the node of the source object and dragging it along the X-Axis. When you do this, you will see your object moving along the shape.
The second way is to set the source object node’s axis alignment to “Left.”
Plan’s Open/Closed State


Recent Comments