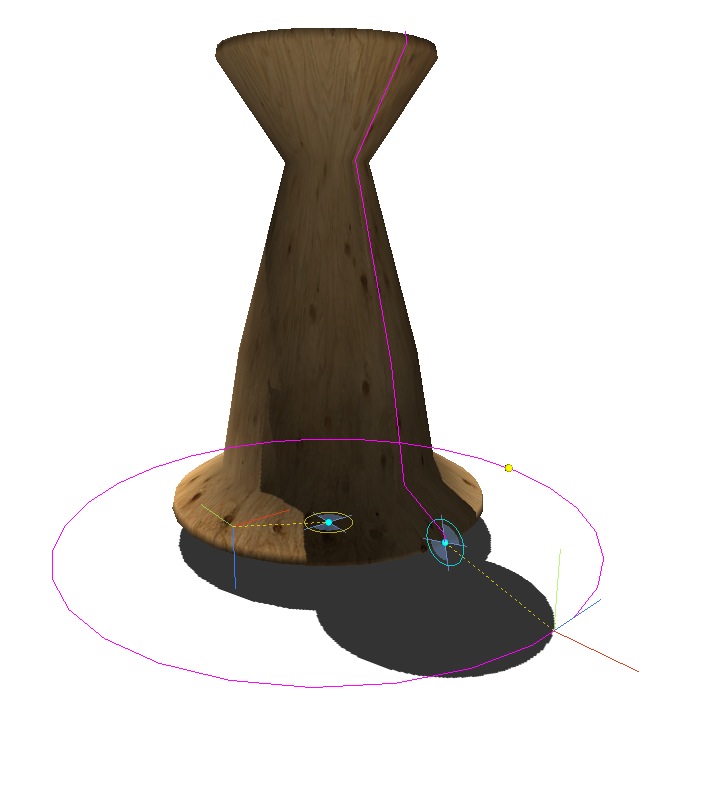
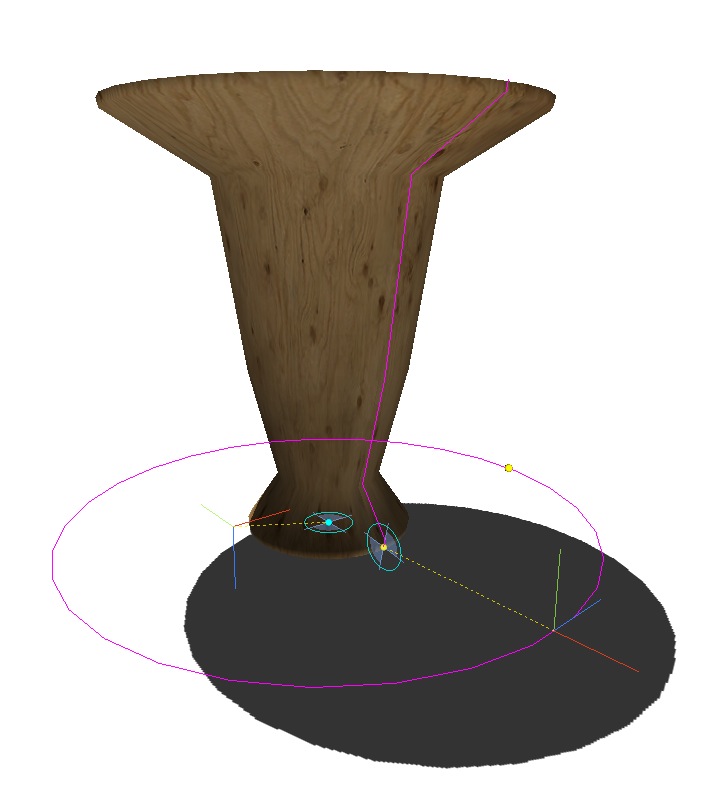
Let’s take a look at how Handles can help you take control of Archimatix objects in the Unity SceneView. When you grab an object from the Archimatix library, it appears in the scene and is automatically selected, revealing the Handles that have been incorporated into it. By clicking and dragging these handles, you can alter various parameters. For example, with the conical object above made from a PlanSweep Generator, clicking on the centroid of the Section shape lets you change the size of the cone and the angle of its slope.
Advanced – Become a Handles Handler!
If you interested in making your own parametric objects, you can add Handles to customize how your users will interact with them. If you combine two shapes in a PlanSweep Generator, you will automatically have the Handles associated with the individual shapes. But you can go ahead and add your own handles as well. To do this, open the Handles section on any Palette and click the “+” button. Once the new Handle has been created, you can name it and then fill in the X, Y, and Z fields to tell the handle where it should place itself at any given time. In the fields add numbers or expressions using parameter names from the Controls section and mathematical symbols or functions.
For example, if you would like an outrigger handle that is always at twice the radius of an object, then you could fill the X-field in with 2*radius. As you slide the radius slider, on the palette, the handle in the SceneView will always be on the X-axis two radius’ away. Now, to have the handle alter a parameter, you add an expression (below the position fields).
Recent Comments