Archimatix2 (AX2) is a node-based parametric modeler for Unity, rewritten from the ground up to emphasize C# scripting and runtime performance. Unlike Archimatix Pro (AX1), which focused on visual editing, AX2 is built as a developer-centric tool—lean, flexible, and optimized for integration into your game’s logic.
As a scripting API, AX2 may feel less intuitive at first, especially if you’re coming from the visual graph editor of AX1. It has a steeper learning curve, but it rewards that investment with greater control, automation potential, and runtime capabilities.
In this brief introduction, you’ll get oriented to the AX2 environment, learn how to script with its parametric nodes, and begin creating procedural models through code.
Whether you’re generating geometry at design time or dynamically at runtime, AX2 gives you the building blocks to think like an architect—and build like a coder.
And so it Begins!
Let’s add your first AX2 parametric model to a new scene. In the top menu in Unity, choose “AX2/Add Model and Node.”

Choose “Stair” from the list that pops up…

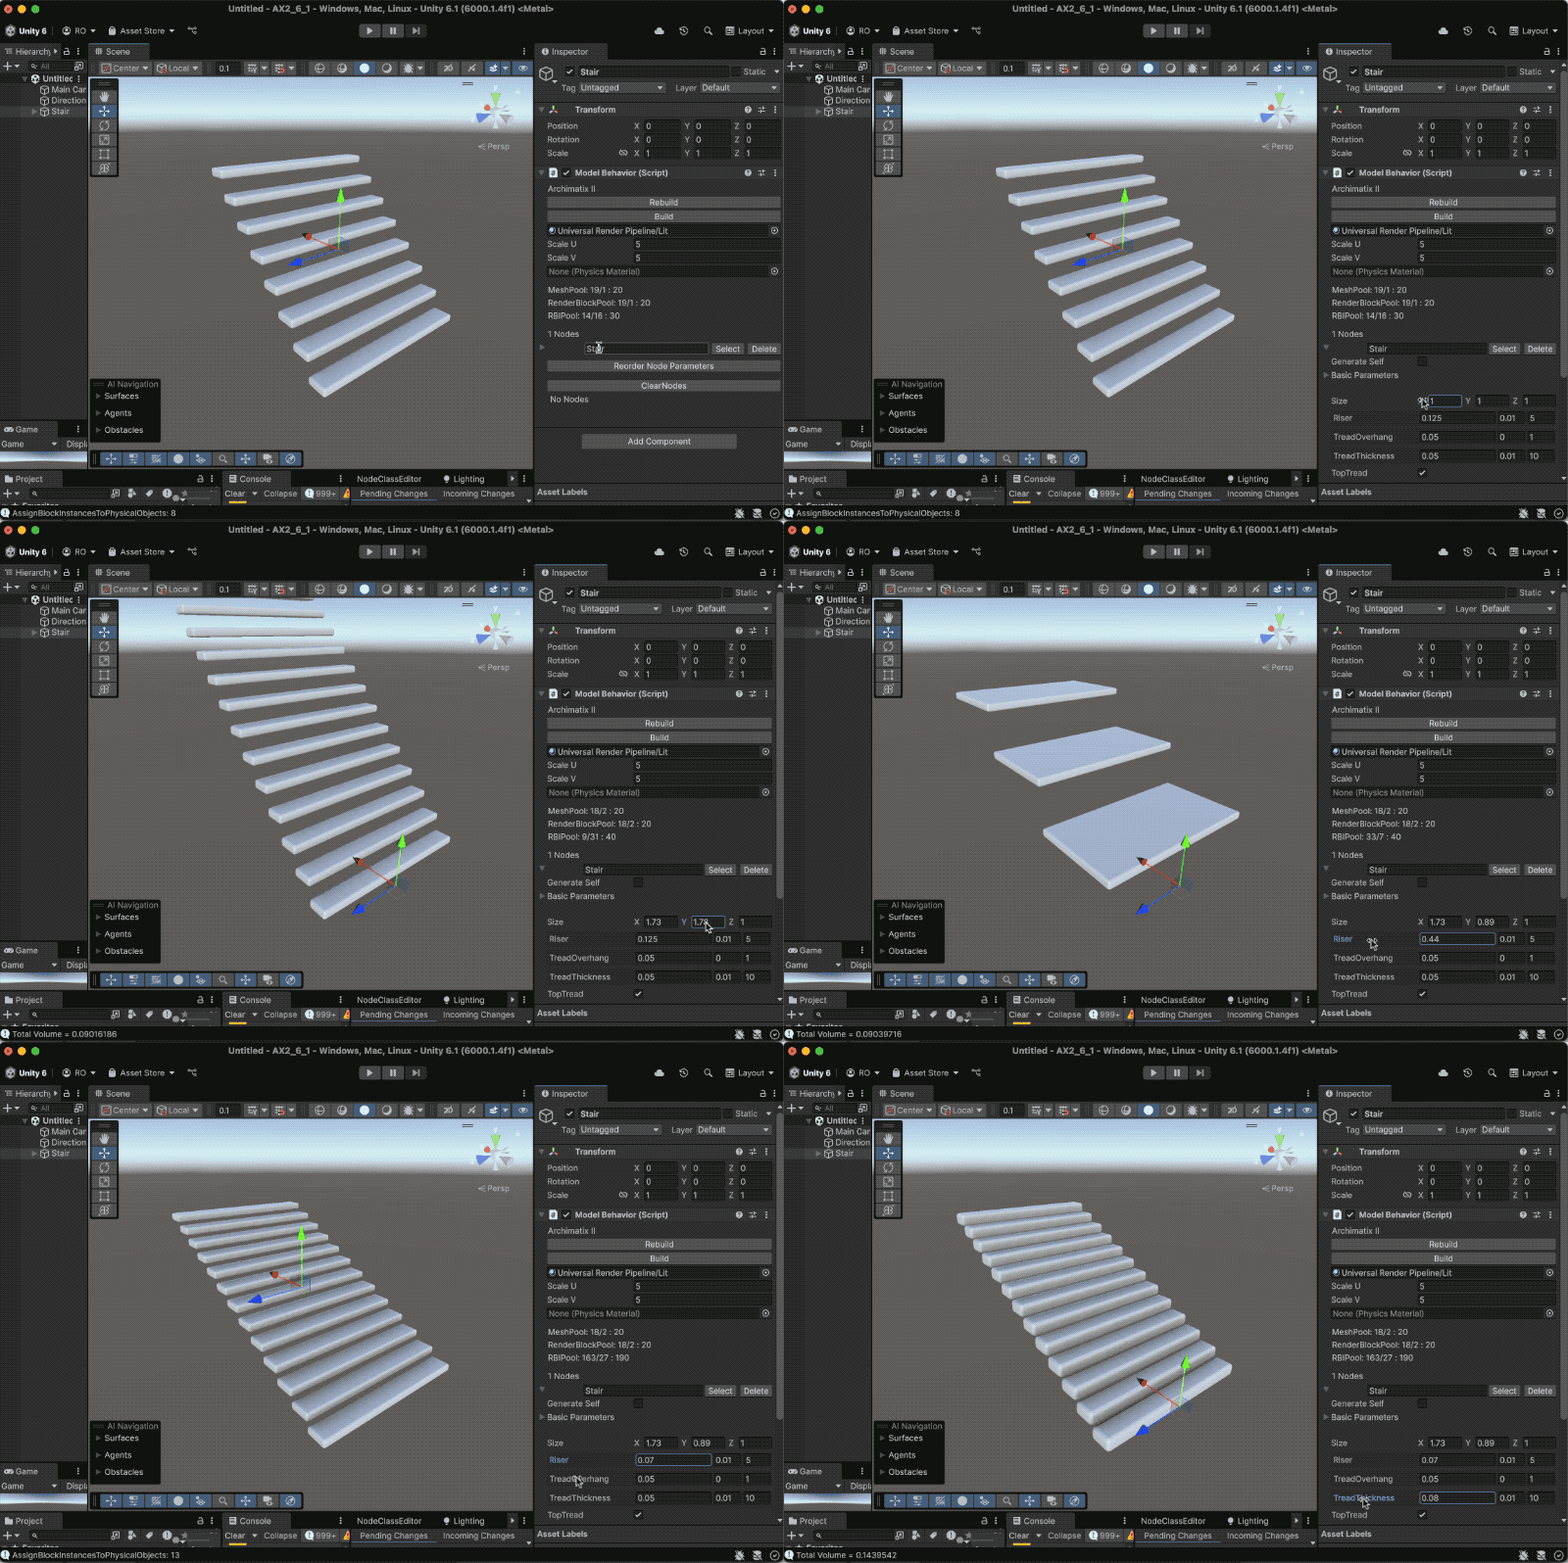
You should now see your first AX2 model! There aren’t any editor handles yet, but you can adjust the Stair parameters using the Inspector.

Creating this Stair node is matter of writing a c# class that extends a base class called MultiBlockGenerator. To get a first look at what such a class looks like, open Stair.cs in an editor.
To the uninitiated, this class may look daunting, but everything outside the Generate() function is generated automatically by the NodeClassEditor, which we will discuss later. As the Node developer, your main task is to implement the Generate function.
/// <summary>
        /// The main function of a Generator.
        /// </summary>
		/// The Generate function: Creates one or more RenderBlockInstances.
        public override void Generate()
        {
            base.Generate();

            int stepCount = Mathf.CeilToInt(size.y / riser);

            float   actualRiser = size.y / (float)stepCount;
            int     subber      = topTread ? 0 : 1;
            float   treadX      = size.x /(float) (stepCount- subber);

            tread.size.x         = treadX;
            tread.size.y         = treadThickness;
            tread.size.z         = size.z + treadOverhang;
            tread.bevel         = bevel;
            tread.bevelSegs     = bevelSegs;

            tread.needsRigidbodies = needsRigidbodies;

            tread.Generate();

            Matrix4x4 worldM = WorldMatrix() * localMatrix;

            int steps = topTread ? stepCount+1 : stepCount;
            for (int i=1; i< steps; i++)
            {
                Matrix4x4 m = Matrix4x4.Translate(new Vector3(treadX * i - treadX * .5f, actualRiser * i - treadThickness, 0));
                RBI rbi = tread.InstantiateProduct(m);
                renderBlockInstances.Add(rbi);
            }

            ApplyContextMatrix(contextMatrix * localMatrix);

        }
The first thing the code is doing is to set the size values for the Tread, which is really another Node called BeveledBox. By the time the Generate function is called, the local variables have the Parameter values already, so you can use tread.size.x and stepCount, etc. These Parameters were defined using the NodeClassEditor.
Once the Tread has been sized and it has been generated, then it can be instanced in a loop, with each instance being translated to its location in the Stair using Matrix operations.
In general, creating a new Node is a matter of defining the Node’s parameters using the NodeClassEditor and then crafting the implementation of the Generate function in c# – the AX2 system will take care the rest.
As an exercise, duplicate the Stair.cs file and call it SpiralStair (also, rename the class inside the new file). Already you should have a new node in the Node list when you choose AX2/Add ModelAndNode. Now edit the Generate function to rotate each step by some degrees. Don’t add any Parameters to your model just yet and instead hardcode a value for the Y-rotation. The rotation can be defined by adding a call to the Matrix4x4.Rotate command.
Good luck!


Leave a Reply
You must be logged in to post a comment.